

How to Make IVF Shots Less Terrible: The Complete Supplies List

Your clinic will send a TON of prescriptions out to a specialty pharmacy and then ask you to cart them back to the office for a “teaching appointment”. After that, you will go home with a sharps container and a medication protocol. My clinic even provided video resources for the medication prep.
But, I still had no idea how those shots would feel or what I would need to make them bearable. I learned what helped and what didn’t through a lot of trial and error. For belly shots, I hyped myself up. Progesterone in oil, I used heat beforehand. And to keep track of it all—I created my own med tracking sheets to be sure I didn’t forget doses.
It was hard.
I wish I had a resource to help me prep for all of it. Unfortunately, I didn’t. But lucky for you, I have compiled a list of IVF injection supplies so you don’t have to suffer the same fate!
Compiling the Basics
What your clinic prescribes and/or provides:
Medications - Obviously. This will be for your particular protocol and plan.
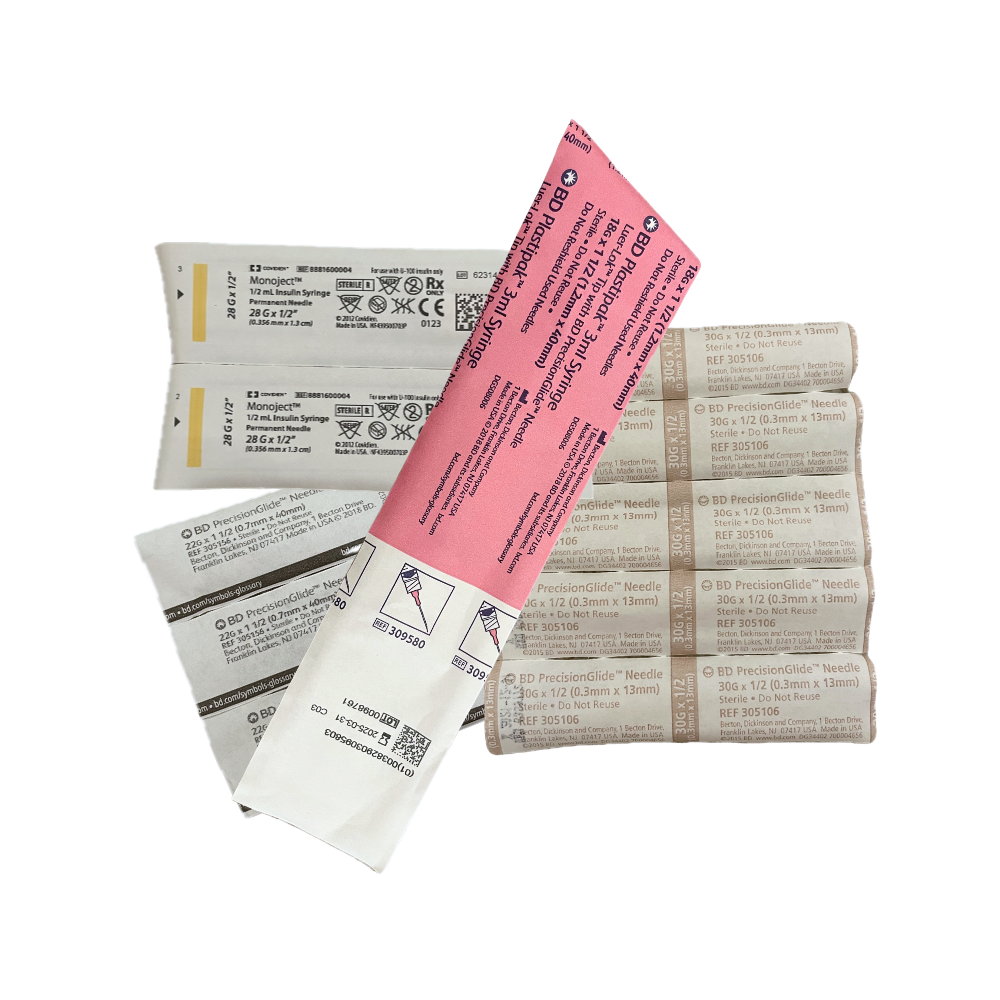
Syringes and needles - Specific sizes for specific medications. Consult with your med team if you are unsure which gauge is for which medication.
Sharps container - For safe disposal of all needles.
Alcohol wipes - Get the giant box. You will use them!
What they don't tell you—this barely scratches the surface of what you'll actually need.
I also strongly suggest having all supplies in one place so you don’t have to search for the one gauge needle you need for this medication or the alcohol wipes you need to prep the injection site. Trust me. Keep it all together.
Prepping for Injection
Ice Packs (The Game Changer)
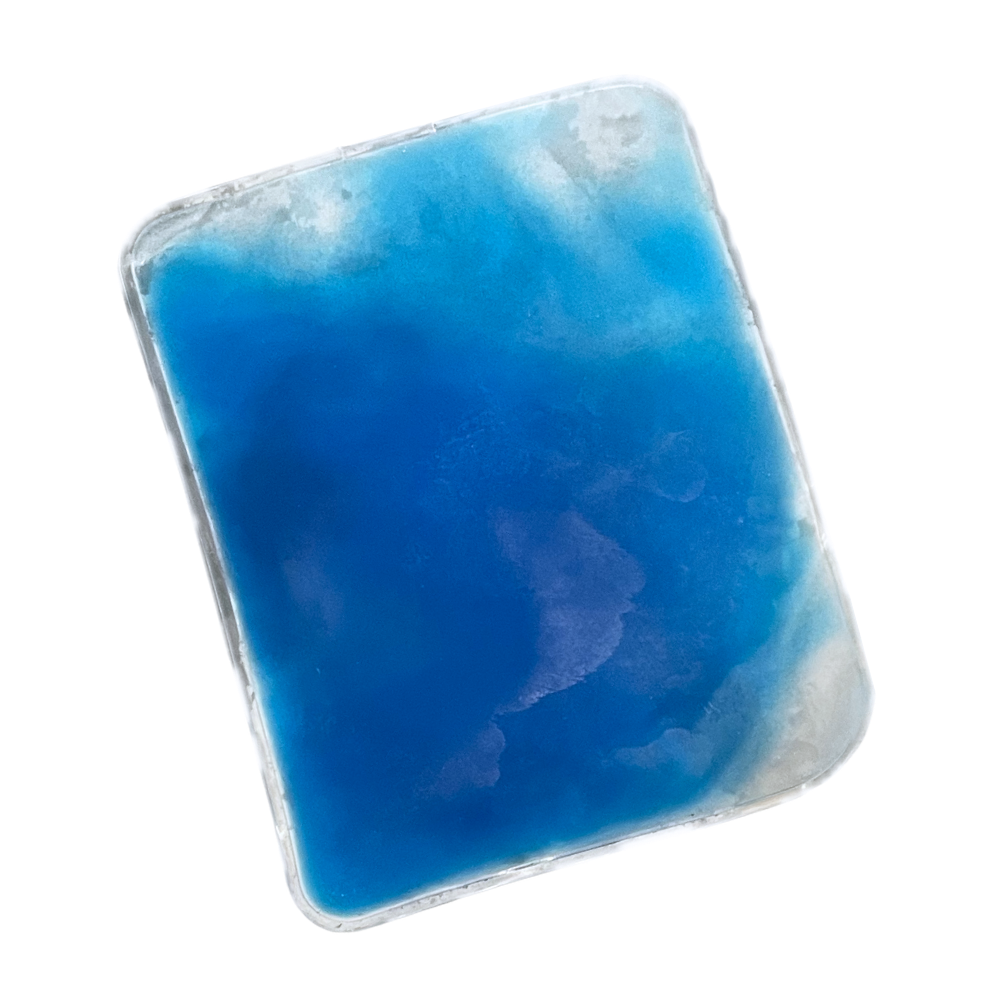
I highly recommend soft, flexible gel ice packs (not hard freezer packs). These are great for numbing the injection site for 5-10 minutes before shots (not PIO). It makes them SO much less painful. The flexible kind contours to your body—essential for belly shots and the back-of-arm subcutaneous injections.
To stay prepared, keep 2-3 in your freezer (so one's always ready).
To use:
Apply 5-10 minutes before injection
Don't apply directly to skin (use a thin cloth barrier)
This may be especially helpful for Gonal-F, Menopur, Ganirelix which can be a little more painful or burn during the injection.
This made injections manageable. Don't skip it.
Organization Station Setup
To stay organized, pick up a small basket, bin, drawer organizer, or over the door organizer. I loved my over the door organizer. I kept it in our guest bathroom, and later our primary bath to hold all med supplies.
Injection time can be stressful. Hunting for supplies makes it worse. Having everything in one spot—medications, syringes, needles, alcohol wipes, sharps container, tracking sheet—makes the process automatic.
How to set it up:
Choose a spot you pass daily (not hidden in a cabinet).
Organize by frequency of use or category (ie. current meds, supplies, tracking).
Have backup supplies stocked nearby if they don’t fit in your organizer.
Keep sharps container within reach.
Include your tracking notebook/worksheet.
Good Lighting
You need to see what you're doing. Drawing up medications, checking dosages, finding injection sites—all require clear visibility. I used bathrooms with great overhead, bright lighting. If the room where you do injections is a little dark, I highly recommend a portable light to better visualize what you are doing as you prep and for the injections.
Making it Bearable
Proper Needle Selection
Follow your clinic’s guidance for the needle gauge needed for each medication. One thing they allowed, and provided instructions on—preparation of some medications to be injected together.
Something my clinic did mention was that some of the smaller gauge needles are great for mixing and medication prep and the larger gauge are more comfortable for injections.
TLDR: Follow your clinic’s advice. If you are struggling with the needle gauge prescribed, reach out to your provider to discuss if other needle sizes may be an option.
Injection Technique Aids
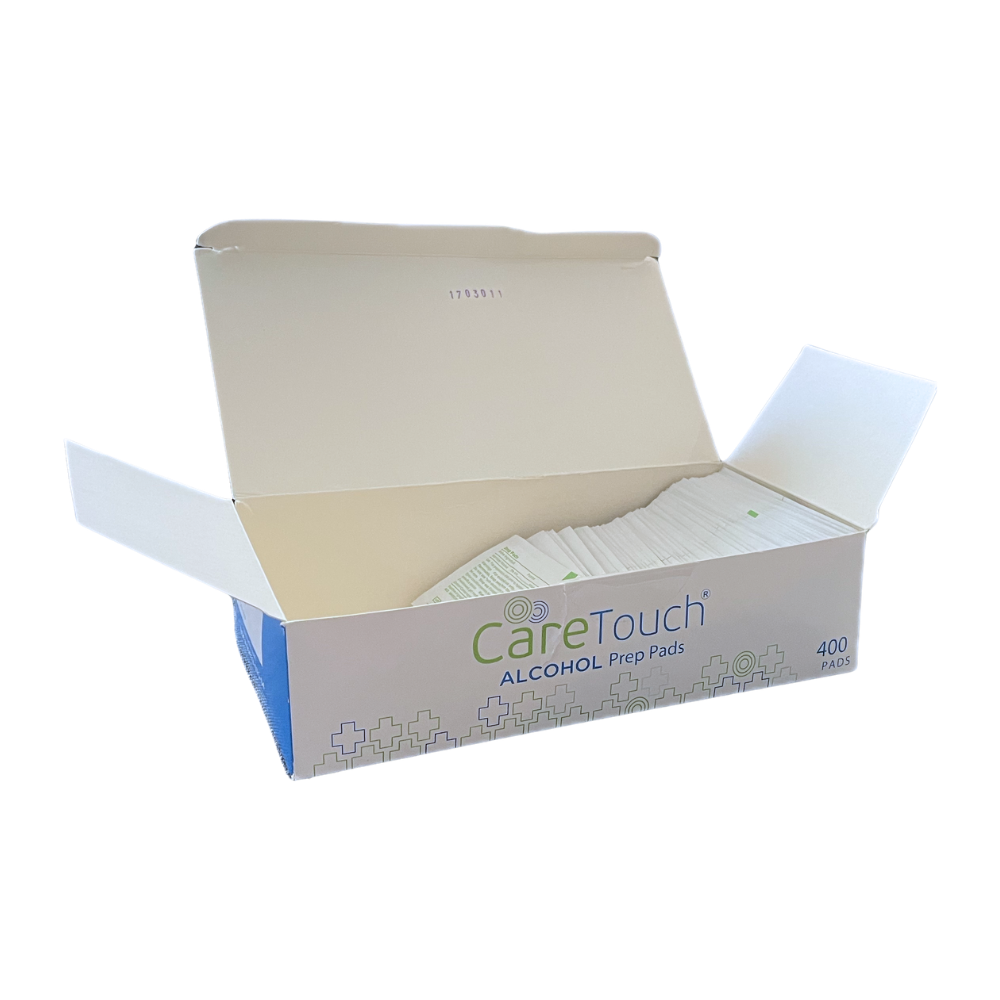
Alcohol wipes (bulk pack):
You'll use 2-4 per day during stims. The small pharmacy box won't last a week. Buy the 200-count box. I set it to auto ship monthly during each cycle. I used them A LOT.
Cotton balls or gauze:
For applying pressure after injection if there's bleeding. I had a few gushers from PIO. These were a lifesaver.
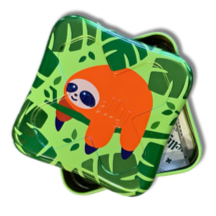
Bandaids (fabric type):
Some injection sites bleed a little. Fabric ones stay on better than plastic. They also have fun designs to add a little whimsy to this crappy process.
Mirror (full-length or handheld):
A mirror is really helpful for PIO injections if you're doing them yourself. Seeing the injection site helps with placement.
Auto-injector:
This may be helpful if you have anxiety with injections and must do them yourself.
Recovering After the Injection
Heating Pad (The GOAT)
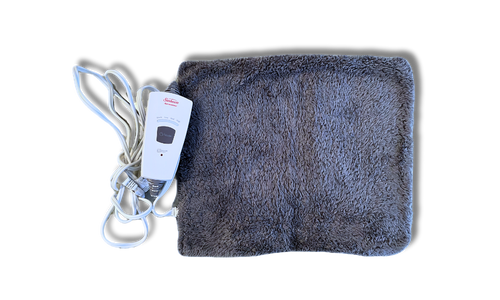
I know I have talked it up in other posts, but my heating pad truly was the MVP of my IVF journey. It helped soothe my PIO sites after injection.
I recommend a heating pad with automatic shut-off (most have this setting, but be sure to confirm before you order).
I primarily used my heating pad after progesterone in oil shots. This medication is thick. Heat helps with dispersing the oil and also increases blood flow. I also found that it helped to reduce lumps, knots, and soreness at the injection site. This was my most-used item for each cycle.
How to use:
Apply immediately after PIO injection
Keep on for 15-20 minutes
Repeat multiple times if needed
Can also use for general cramping
Massage Tools
These may be helpful for PIO shots. Something like a massage roller ball or a physical therapy ball to roll on the knots helps to loosen them and also helps with oil dispersion. It also helps to prevent lumps.
How to use it:
After heating pad time
Firm, circular motions
5-10 minutes per side
Daily until you're done with PIO
Tracking & Organization
Medication Log System
I created a paper checklist and log to keep track of medications, dosages, and when they were taken. I printed a new one for each week or new cycle and kept them in a plastic sheet protector with a pen. This is what I used (free link to worksheets).
Another option is to find an app to track everything. I am a very analog person and really liked writing it all down on paper.
In either case—be sure you CHECK IT OFF AS YOU TAKE IT.
Alarm System That Works
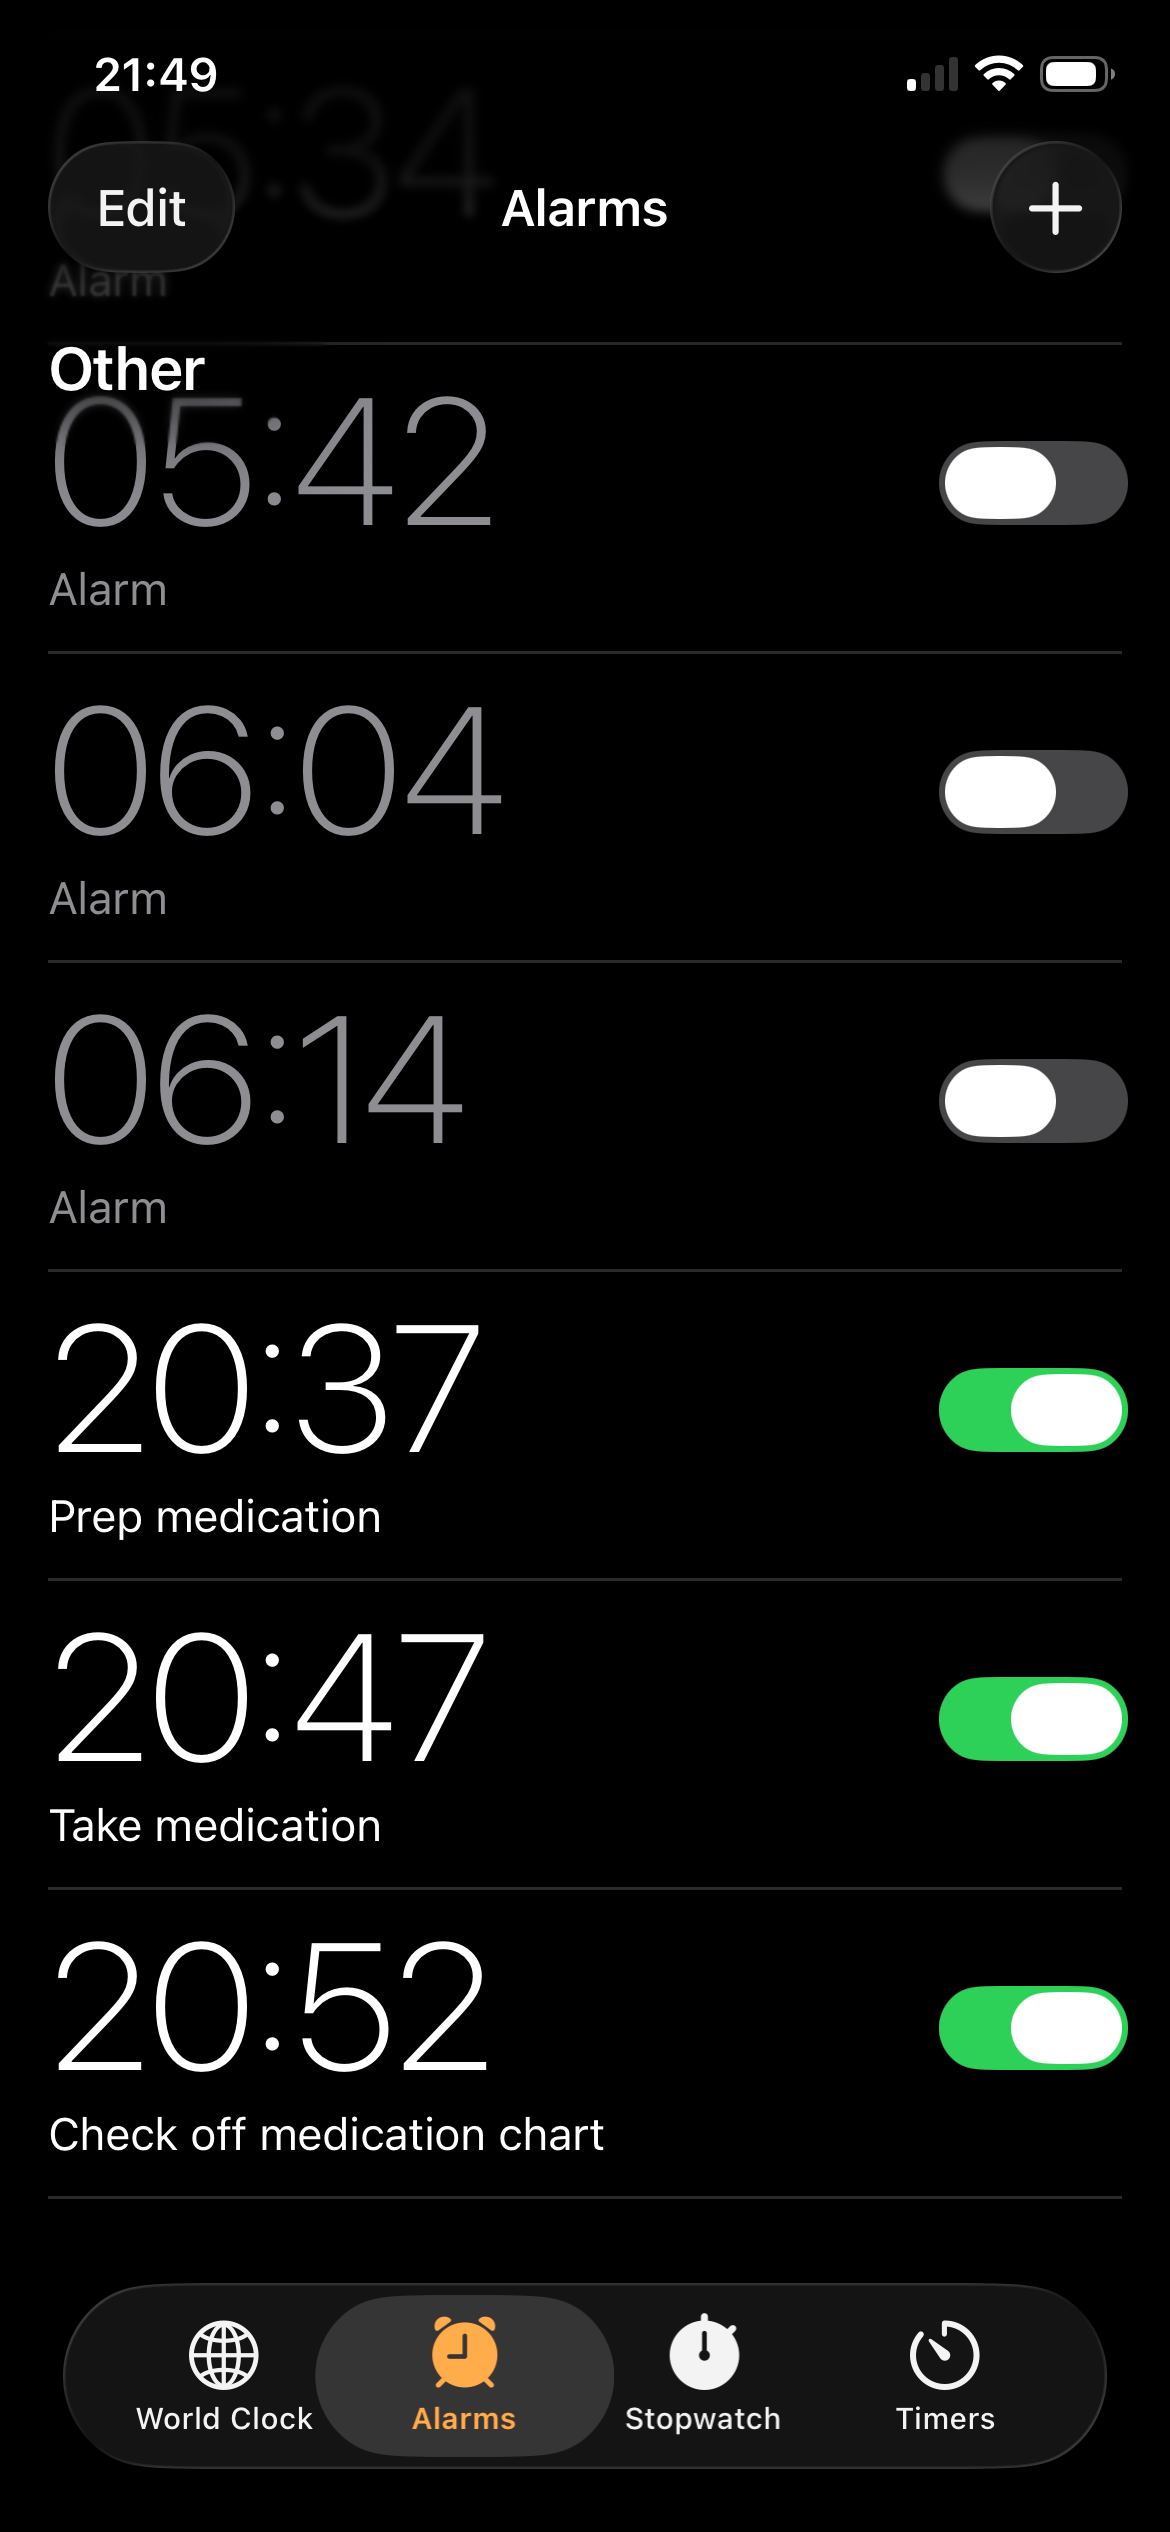
Don't rely on memory. Set up a system to prompt you to prep your medications and inject at the correct time. Name your alarms specifically, if you need to.
How to set it up:
30 minutes before injection (prep reminder)
Actual injection time
5 minutes after (backup if you didn't confirm)
10 minutes after (did you do it? check)
Label Maker or Color Coding
I didn’t color code, but I did keep meds in different pockets of my organizer based on when I needed to take them. If I were doing another cycle, I would definitely use a color coding system. Visual cues help prevent mistakes.
How to use:
Color-code by time
Mark storage requirements (fridge vs room temp)
Separate AM from PM meds physically
Storage Solutions
Refrigerated Medications
I kept several medications in the fridge. I found using a small, clear, plastic bin or bag was most helpful for keeping everything together.
Verify with your clinic which medications need refrigeration and which are okay at room temperature.
Travel Kit for Refrigerated Meds
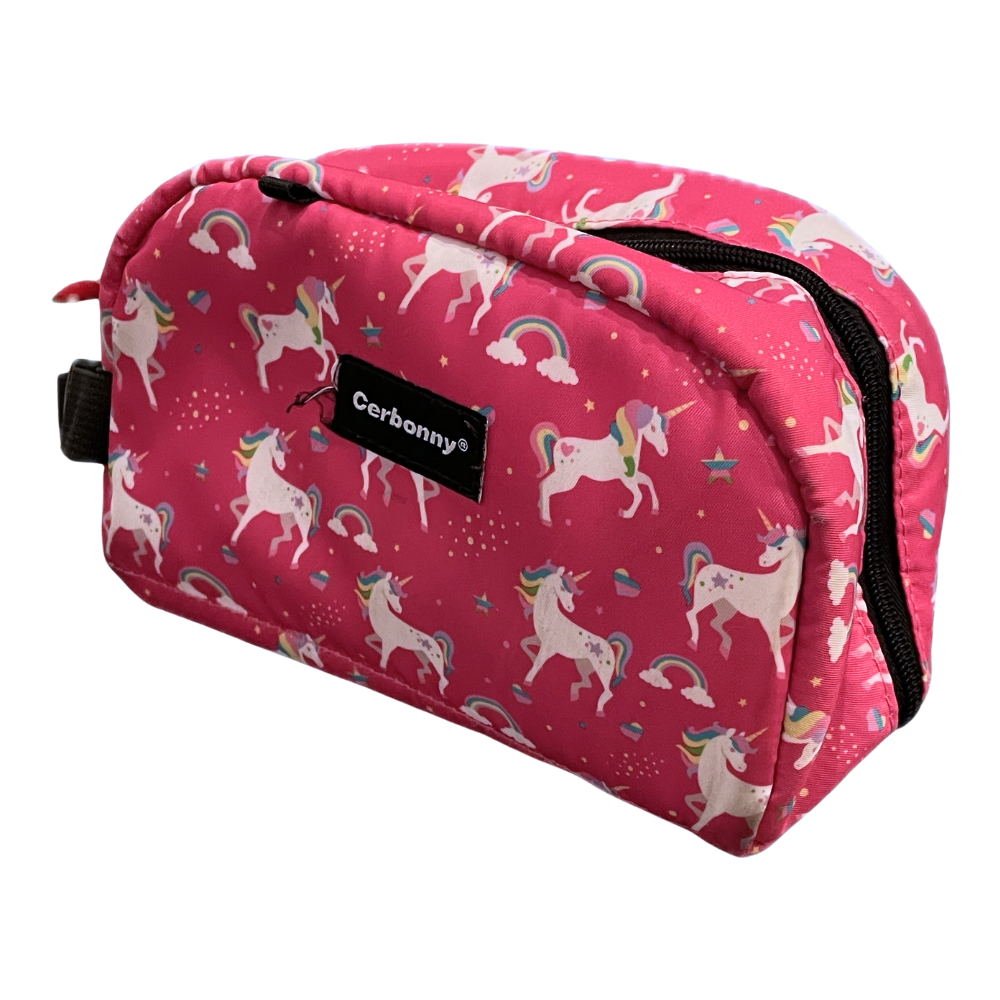
If you are traveling overnight or are just out for the evening, but still need to do your injections, a small cooler is helpful. Something like a small insulated lunch bag or cooler is great for keeping medications at the proper temperature. It also leaves enough room for alcohol wipes, bandaids, and needles. You will have to make a plan for safe needle disposal.
What to pack:
Medications (obviously)
Syringe and needles
Alcohol wipes
Sharps container (small travel one)
Copy of prescription (for TSA if traveling)
Troubleshooting Common Problems
"I forgot if I took my medication"
To try to prevent forgetting, check off the med right after you take it or take a photo of the empty medication or needle.

If you do forget, double check your tracking sheet. When in doubt, call clinic nurse line.
"I think I drew up the wrong dose"
To prevent drawing up the wrong dose, triple-check before you prep. Have your protocol sheet out and use good lighting.
If it does happen and you are questioning yourself, don’t inject. Draw up a new dose and take your time.
If you’ve already injected, call your clinic to discuss.
"The injection site is bleeding/bruising"
It is normal for there to be a small amount of blood, bruising, or soreness at the injection site. However, heavy bleeding, large and painful bruises, severe pain or redness/warmth/swelling at the injection site are not normal. Call your clinic.
To minimize bleeding, bruising and pain: apply pressure with gauze after injection, use ice or cold packs for bruising, heat for soreness, and be sure to rotate injection sites.
"I'm running out of injection sites"
Keep track of your injection sites. I was required to inject in my belly for stims. I alternated sides and areas. I kept track of it on my med tracking sheet (at least right or left side). I eyeballed the location based on the freshed bruise or bandaid. If you are running out of space, ask clinic about other approved sites
Special Considerations
PIO (Progesterone in Oil)
PIO is a thick oil that is hard to draw up and takes a while to inject. It is also an intramuscular injection, which is different than the stims medications which were sub-cutaneous. Because of that, it may be a bit more painful or cause knots.
To make it bearable, use a heating pad, massage tools and prep your injection site. Also, try to warm the oil vial in your hands before injecting. A warm oil thins, making it slightly easier to inject.
How to make it bearable:
Warm the vial in your hands first
Warm injection site beforehand.
Heat after (dispersal).
Massage thoroughly.
Rotate sides religiously.
Consider lying down if you get dizzy.
For People Who Do Injections Alone
If you will be doing all your injections alone, find a place where you can have all of your supplies within reach. Use a well-lit room. Practice on an orange or other injection training pad. For PIO in particular, have a mirror to visualize the injection site. I also highly recommend an auto-injector for PIO.
What helps:
Video tutorials (watch several)
Clinic teaching session
FaceTime with friend or partner during first few injections
What You Don’t Need
Despite what the internet says, you don’t need special “fertility” injection supplies, unless you really want them. You can find less expensive alternatives that do the same job. Save your money. This process is already expensive enough.
Here are some budget friendly options:
Ice packs → frozen peas in a washcloth
Heating pad → hot water bottle or warm washcloth
Fancy organizer → cardboard box or basket you already have
Label maker → masking tape and marker
Expensive tracking app → notebook and pen
TL;DR
None of these supplies make injections fun. Let's be honest—they're never going to be fun.
But having the right tools makes them manageable. Bearable. Survivable.
The goal isn't to make IVF easy. The goal is to make it less terrible.
I hope you find that these supplies solve those small problems that you didn’t forsee. I hope they help bring some peace so that you can focus on more important things.
You're doing something incredibly hard. You deserve whatever makes it even slightly easier.